Join me....

I believe that art enriches and informs our lives everyday in many positive ways. Sharing those experiences, whether as an artist or as an appreciator, is part of the pleasure. I welcome your comments and hope you find something of value: a laugh, an insight, a new idea or just a happy moment. Enjoy art!
Showing posts with label workshop. Show all posts

Friday, July 15, 2016

Blessings on the Wind


I love the creative energy of a "workshop" so when friends
encouraged me to offer one on making Prayer Flags I
jumped right in.

We began by discussing the use of prayer flags and the traditional meanings behind the earliest ones.  (A beginners intro here) I made worksheets guiding us to think about the way we might take these traditional symbols and colors and "modernize" them for personal meaning.  It is important to know that the flags are meant to be infused (if that can be said) with intentions and blessings which then are spread over the land as they blow in the wind.  This project is as much about thoughts and prayers as it is arts and crafts.


We began by making print blocks from foam and stamping them on to the fabric.


Everyone designed a block but we shared or used parts of each others when the symbols worked.
These are just a few flags laid out to dry.


 Flags were also stamped, lettered, stenciled, painted on
and designed with any tool or color that added to the
intention it was designed for.  I loved how everyone
added their own touches and shared their thoughts.

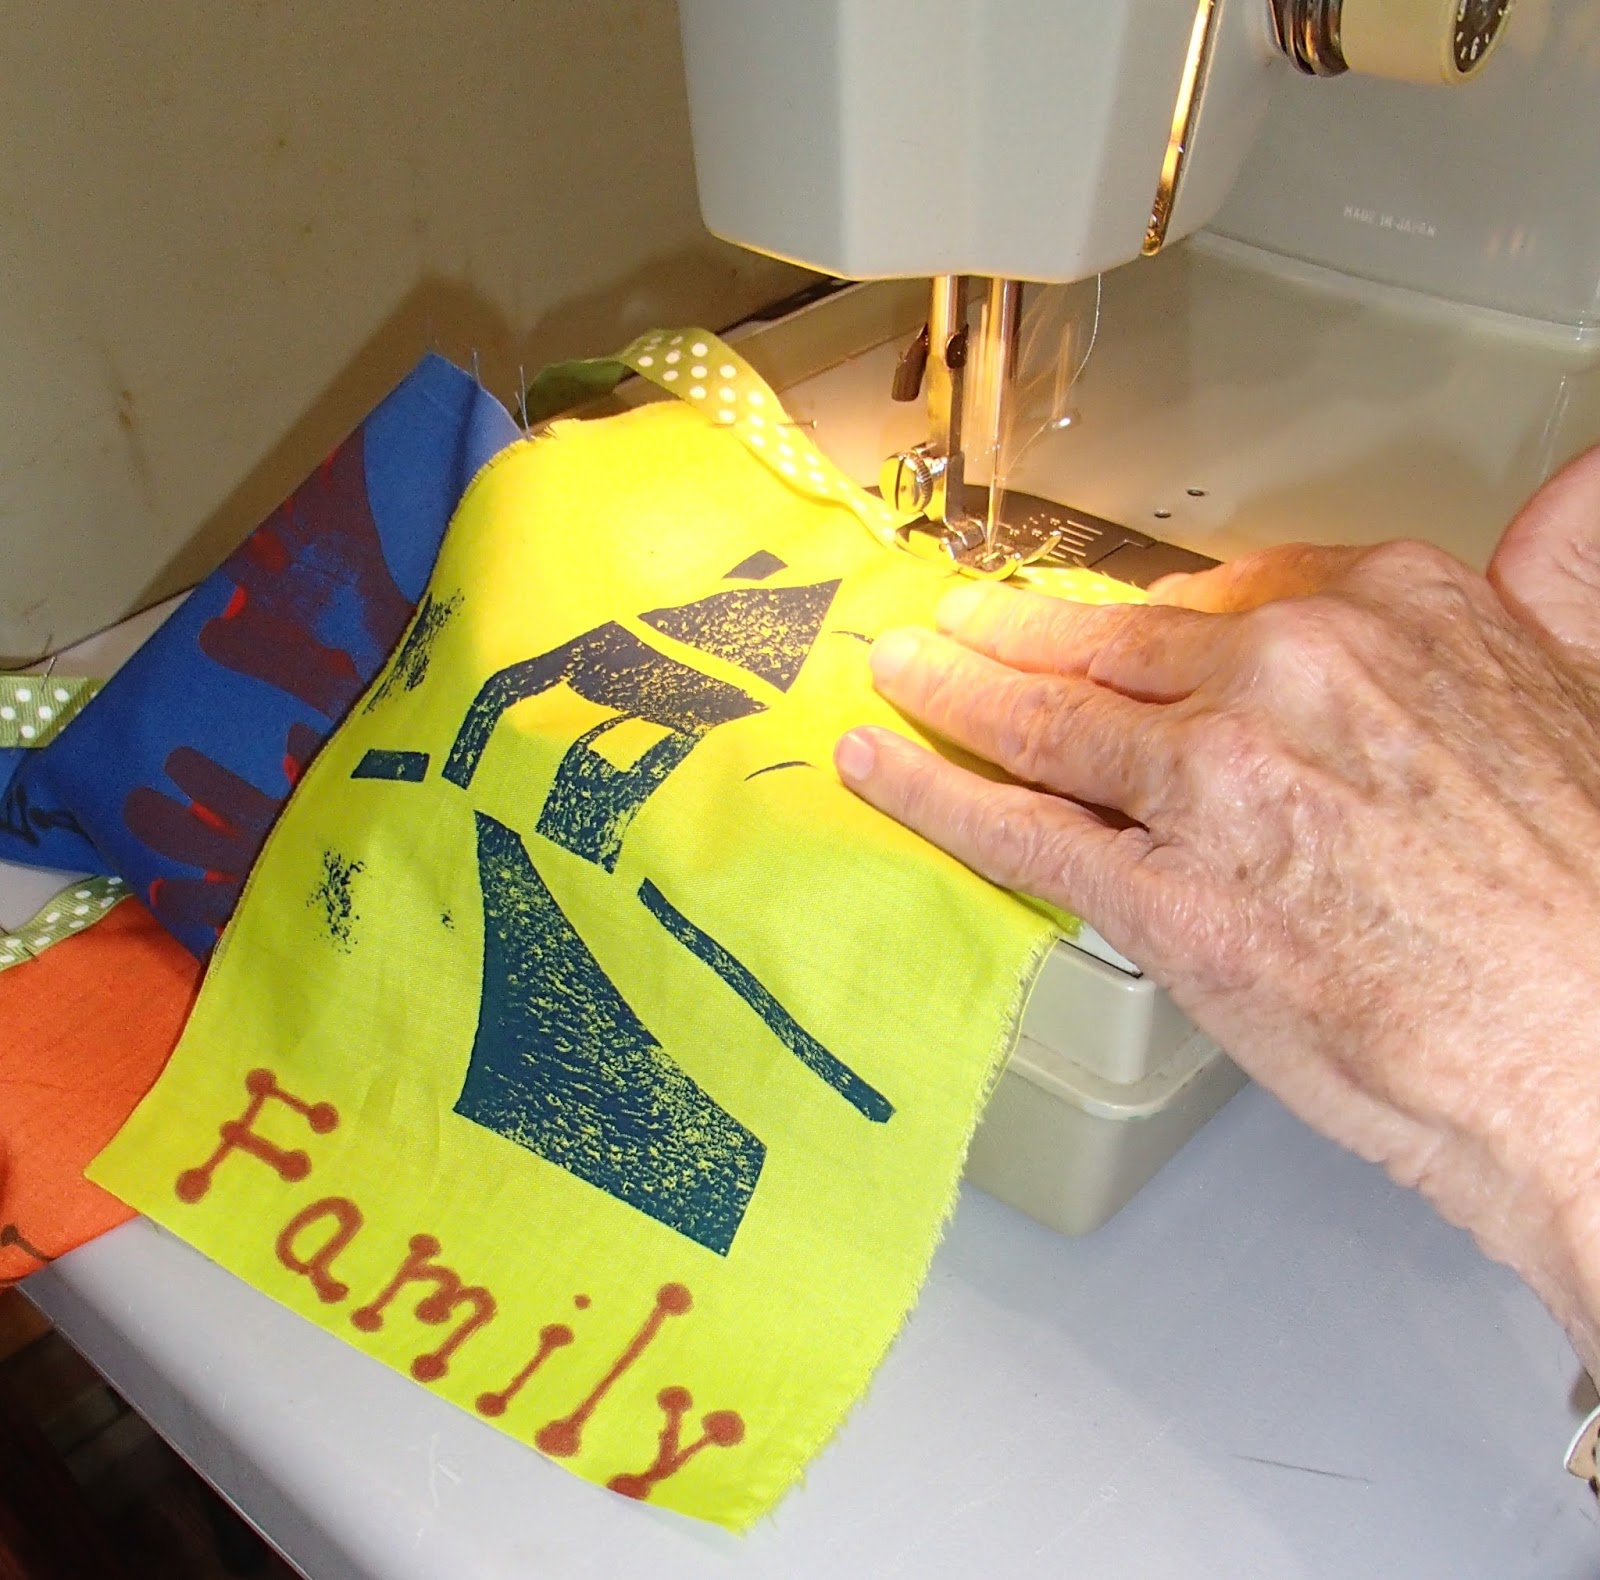
As the flags dried we cut our ribbons and talked about where our flags were going to hang.  Everyone, surprisingly, were making their flags for a specific place and/or a particular person.  Carefully the gals pinned the fabric to the ribbons and the sewing began.


Pretty soon we were admiring the results and getting anxious to put our blessings in the wind.


I don't have any workshops currently scheduled but if you have a group that is interested just contact me and we can set something up.  Five is the max to fit into my studio but larger venues will work if you see this as applicable to something you want to do.  After all, spreading more blessings across this country of ours would be a good thing, no?

Intentionally ColorFull,
Cindy

Friday, July 26, 2013

Color is Black and White....

Remember when our technological world made everything black and white?  Our television shows were in black and white as were our photos.  I don't remember complaining about it, our minds seemed to do an adequate job of filling in the detail.

In contrast today everything is in color, living color, splashing color, neon color and colors never in even the largest Crayola box.  I love color.  Color seduces us, soothes us and excites us.  Perhaps we are drawn to make art simply because the playground is so bright and wonderful.

However, it is easy to let color run away with the story and this fact was brought home so clearly at a recent workshop I took with colorist Andy Braitman.  Take a look at his art and you will swoon for the color combinations.  He can actually made a 2D canvas vibrate with the scene at hand.  Yet Andy spent three days discussing the importance of VALUE.  To make it simple let's imagine that every color in the universe falls into one of three categories: dark, medium and light.  In other words, apply a black and white camera to something you are looking at and the values, not the colors, will be obvious.  This is a relatively simple idea to grasp but one that takes many hours to understand in the world of painting.

Unless you are an artist you really don't want me to explain much more about this concept.  But I bring it up because it is an excellent concept to apply when you are viewing art.  If something doesn't "feel" right to you it is probably because the execution did not give close attention to the role of value.  Yes, you like the use of red and blue but are all the reds the same, do any of the blues move to the background while some come forward?  You can ask these questions without really having to know the whys.  Your gut will tell you if it all hangs together in a pleasing way or is a bunch of unrelated shapes.  Squint your eyes until all you see are black and white (or greyish) shapes...are they still pleasing or disconcerting? 

You're well on your way to critiquing art!

Here's a piece I did under his guidance:
 
 
And here it is in black and white:
 
 
One last test, let me know specifically where your eye travels, or lingers and I'll let you know if I did it correctly!
 
 
Color Fully Yours,

Cindy


Friday, July 19, 2013

My Most Expensive Painting

People always want to know how long a painting took to complete...and I know they want to equate fewer hours with a less expensive co$t and tons of hours with a lot of value $$.  So I thought I would reveal my most expensive painting to date.  You are going to want to pay lots and lots of greenbacks for this one.  Here goes:


This is the photo I chose. I wanted a strong vertical and some dark background so I could make the pink flowers pop.  It took about an hour to find this in my archives.  Keep in mind that the confidence to pull off the tree came because I spent 9 months last year painting nothing but trees.  Now add in the money I earned to pay the tuition for the workshop in which I painted this.  The instruction lasted 3 solid days.  Ching ching, you with me now?

(please note: I will be referencing this workshop for several blogs.  You can learn more about this wonderful teacher and extremely gifted artist by checking out the website of Andy Braitman.)

This is my sketch on canvas, which I forgot to mention I coated 3 x with gesso which needed to be purchased and had to dry between coats.  (discounting dry time lets say 45 minutes total).  The sketch is then coated with a medium which smears it to a deep black and sets the masses of charcoal in place.  We are cooking along at about an hour here.

I am finally applying paint!!  What you don't see is my huge box of acrylics and all the steam coming from my brain as I spent another hour trying to decide exactly which colors to use.  I needed three values for this step: dark, medium and light.  I needed many variations of each value and I needed to tie it all together.  The application took many passings.  At first I was using a putty knife in a large size.  After that and a bit of drying I came again with another knife and more color.  And I needed to keep plenty of "tooth" on the surface, otherwise known as texture or the "grip" that would hold the next coat.  I'll let you guess how many hours total on this phase but please don't forget to count the time put in on learning how to mix three values of the same color.

The stage I forgot to photograph was the re-establishment of my darks.  I switched to oil paints and mixed up a huge amount of a near black and practically covered the canvas, redrawing my initial sketch but with thick, gloppy oil.  Similar to working with tar.  It got set aside to dry as I went home to ponder the next step with the help of a little vino.

Now the time investment really starts to add up as the brain and hand must slow down to anticipate and carefully plot out the next move.  The trick is to be so sure of the mark you are going to put down that it hits the canvas and stays.  Un-manipulated strokes look confident and convey more emotion.
It is here where the colors get mixed up in huge piles before even one of them is used.  It is also this step that involves the science of color mixing as you attempt to duplicate or compliment a previously used color.  Who can clock those hours?

 
Above is the almost final version.  I say almost because before I ever sign it, this piece will sit in a prominent place drying so I can critique and evaluate it (more hours) until I am satisfied.  Are you waiting for those pink flowers to pop?  Hmmm, that's what we mean when an artist says "the painting spoke to me..." The further I got into this the less I needed those flowers that attracted me in the first place.  A slightly different scene began to emerge and I went with it.


The canvas is 24" high by 18" wide and I have not yet put any time or $ into selecting a frame for it.  
Add to that my investment in paint and canvas.  If I elect to build the frame it will take a bit more of my time. Did you add up the hours?  I can't bear to do so. 
 
I don't regret or begrudge a minute or a nickel invested.  Do not misread me.  I just wanted to give you an insight into the complicated answer to your question of how long a piece takes.  And I want to explain why original art is not sold for Pottery Barn prices. 
 
Color Fully Yours,
Cindy 


Friday, September 7, 2012

Creative Yard Art

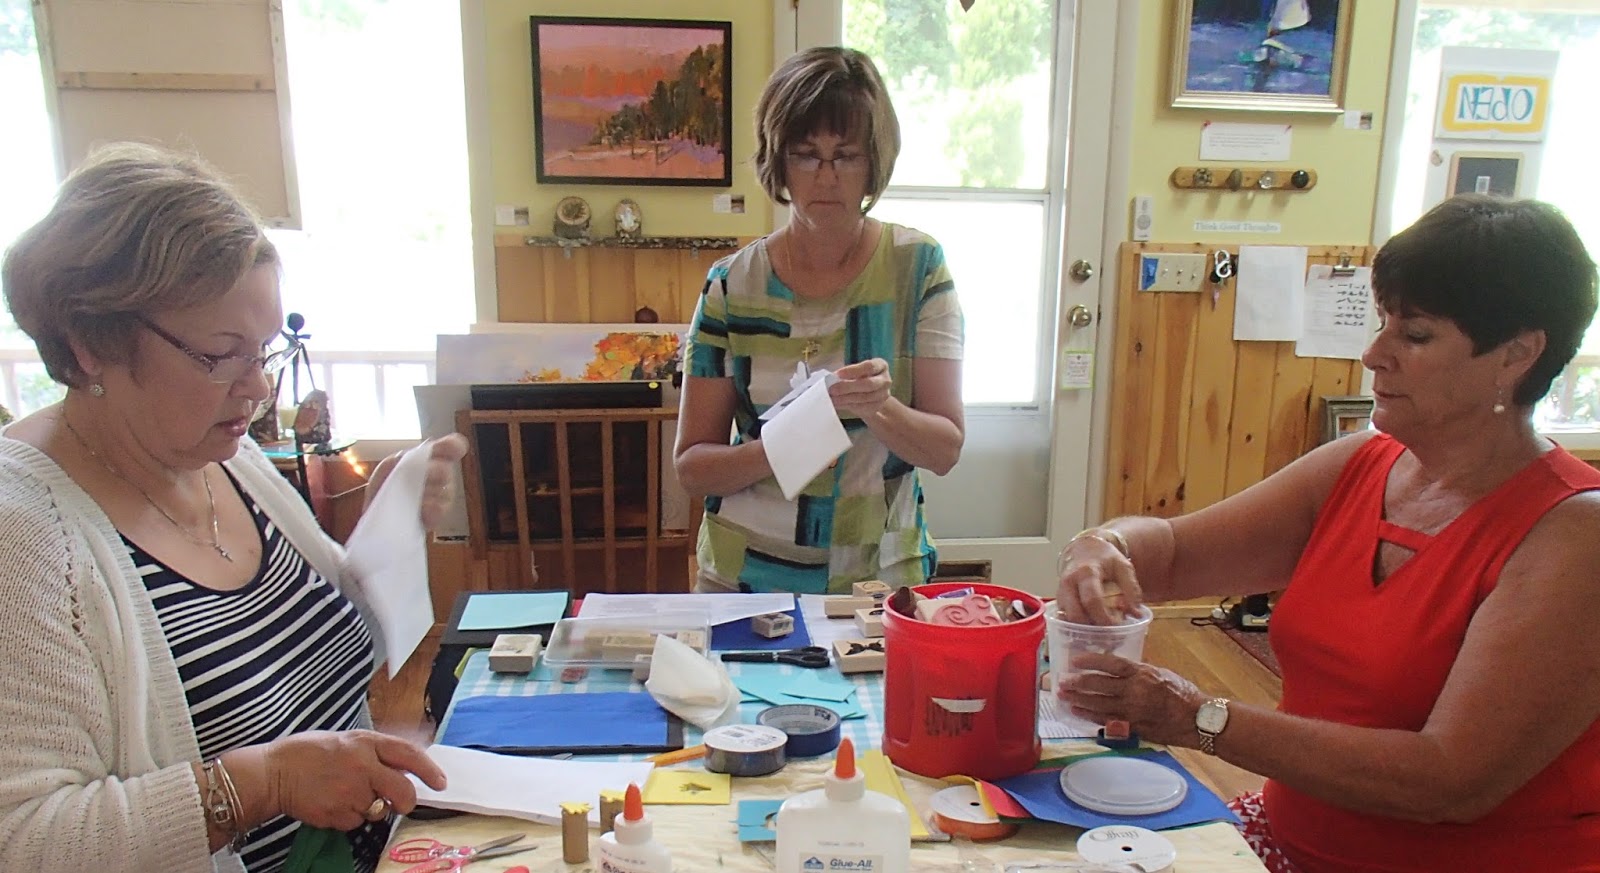
Sometimes the funnest things are activities you never really set out to do!  Such was the case when I spontaneously agreed to teach a workshop in making glass flowers from plates.  I had been doing them for local shops and had so many questions that we decided to share the fun via a class.
me playing teacher,
looks like an infomercial, no?
 
My sweet friend Cheri offered her home, information was circulated and voila! we had ourselves a date.  Ten brave students gathered, some confessing that creative sports were not in their wheelhouse.  I guaranteed fun for all.  I get a little enthusiastic in my thrift shop endeavors and forget that not everyone is as familiar with the jewels to be found as I am.  Nevermind, I loaded up on enough to supplement anything that anyone brought in and handed out little bags of adhesive and "fixings." We even set up a "trade" area for extra materials.
 
Marsha and Yvonne listening intently
 
The wonderful thing about this kind of craft is that we can play with all kinds of color combos and shape mixes before ever committing to putting them together.  So play we did!  Lots of ideas were shared, opinions offered and encouragement given.  Whew, once the adhesive was in place it was time to let the art "set" and take a break for lunch.
 
lunch with the ladies is always educational
 
The results were wonderful!  Not a failed project among them...I truely got some renewed inspiration from watching the way these ladies worked...Lots of lucky folks will be getting original yard art for Christmas this year.  I know I'm not finished yet!!
Take a peek here at just some of the lovely pieces created:


So imagine these peeking out of your greenery in the garden...
Hope you can join us next time!

Tuesday, November 30, 2010

Cider Time a la Qiang

One more wanna-be from the workshop with Qiang Huang: Cider Time.  What took the "master" 2.5 hours and minimal strokes took me 4 hours to lay it in and a studio session to finish....with at least a million strokes.  My poor apples lost their "glow" at one point and it was no easy task trying to find it!

But that's why he is the teacher and I the humble grasshopper.  It was my sincerest intention to follow the workshop with several weeks of intense remedial work to practice all that we learned on still life painting.  Alas! I fell on my elbow and broke the funny bone clean off.  Even though I lucked out and damaged the left one (I am right handed) this "incident" did put a crimp in my oil painting.  I'll be posting graphite for a little bit....hoping to return to oil soon.