Join me....

I believe that art enriches and informs our lives everyday in many positive ways. Sharing those experiences, whether as an artist or as an appreciator, is part of the pleasure. I welcome your comments and hope you find something of value: a laugh, an insight, a new idea or just a happy moment. Enjoy art!
Showing posts with label block prints. Show all posts

Friday, April 20, 2018

TESTING...1...2...3

Not to belabor this test tiles theme...
it takes a while for an old dog to learn new tricks!
One last post on testing,
one last post on block printing.


In my experimenting with block prints I revisited one of the first ones I cut: a baby airstream.  I was (sorta) satisfied with this piece UNTIL I entered "testing...testing" mode and began to actively consider early pieces as "trial runs."  I still loved the image but knew I could do better.  So, I decided this was a "test tile" and vowed to try again employing the things I now had learned.


I revisited my original image and enlarged it while also giving it a border which I felt added to the design.  You see it on the tracing paper which I flipped to imprint onto the rubber block.  I decided that the "white spaces," the place where the rubber is removed, should be slightly more interesting than a deep cut that leaves no impression.  So I made my cuts to resemble a sun in one corner and imply a tree in another.  I knew if I hated these additions I could remove them later.


Now that the block is cut it is time to ink it up.  Can you see the sun and the tree suggestions?


I press the paper on top of the block and smooth it with my finger tips so that the ink adheres.


Time to carefully pull back the paper for the result.


Not too shabby!  I like it.

Testing with another paper:


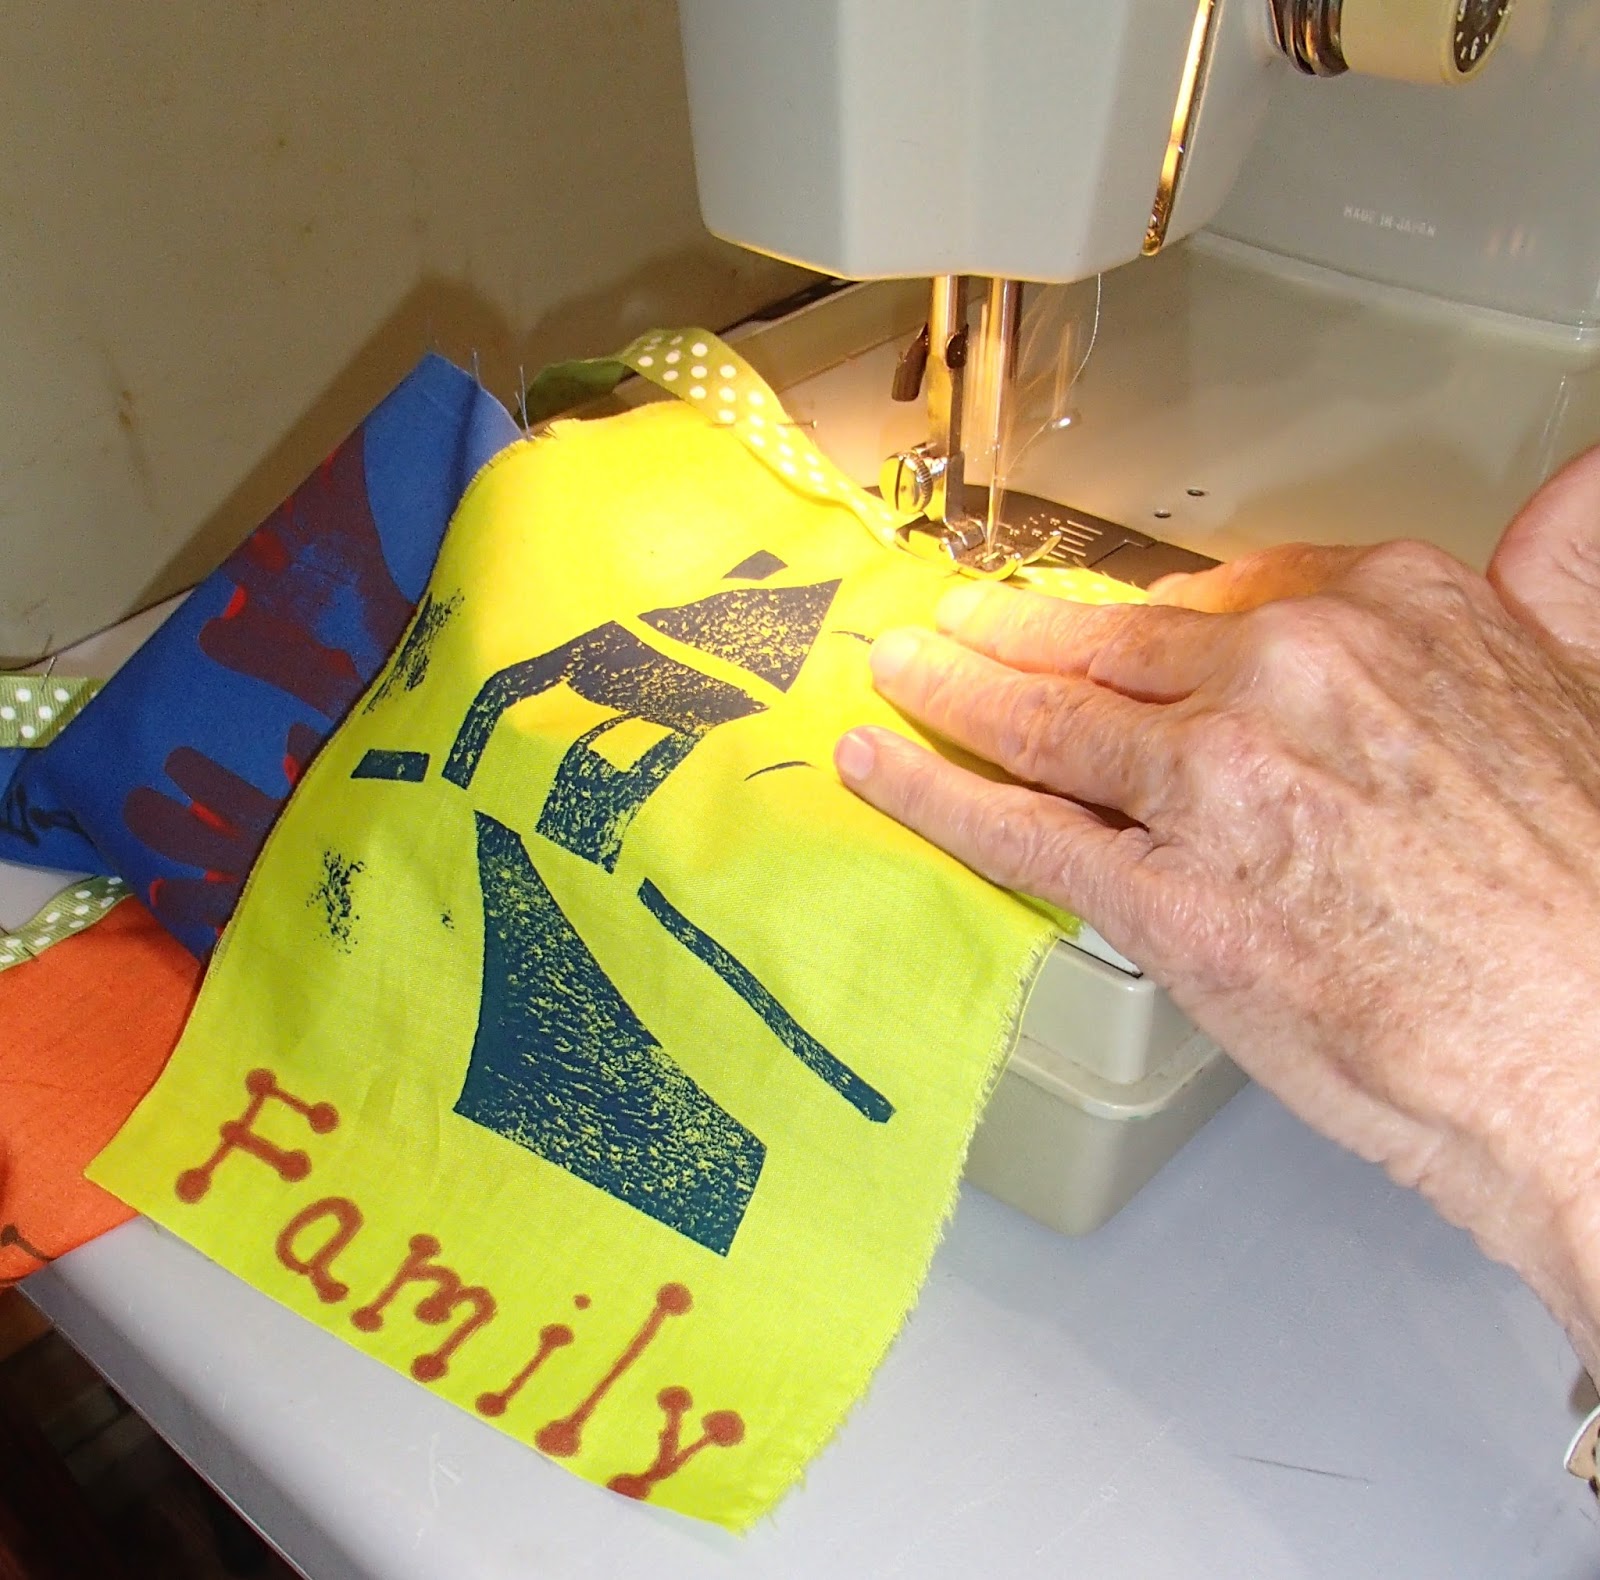
Very nice.  And this is where I will rest and go over it with a close eye to see if any lines need to be removed or if any other papers should be tested.  I'm anxious to try this on fabric as well.


Happy trails to you!  I think the "test tiles" proved their worth.  This has some exciting possibilities.  And all from a couple pieces of rubber and the patience to rework until satisfaction is reached.  I think "test tile" will be my new buzz word for a bit longer. Thanks Maggie, the lessons was much needed.  So if at first you don't succeed....

TRY, TRYING AGAIN,
Cindy

Friday, November 4, 2016

Creating a Block Print Image

In college I had an art major friend who patiently worked with me
as we created block prints for Christmas cards.
Mine was "OK" but mostly I remember the magic of printing AND
 the tedious process.  This year I decided to revisit the effort.


I have memories of it being difficult to cut into a linoleum covered block of wood so I was thrilled to see these soft cut blocks by speed ball.  Advertised as "speedy carve" they looked much easier to handle.  (I will add, now in hindsight, that the floppy rubber is easier to cut but NOT easier to print with...just sayin').


Here are some of the carving tools (conveniently sold in the same aisle as the Speedball squares).  I sketch my design out on tracing paper with a soft black pencil to the size I desire.  Keep in mind that what I carve away will turn out as the color of the paper I print onto. What I leave un-carved will be the color of my ink.


I flip the design over and rub it on the rubber, if my pencil is soft enough the design will transfer.  Often I go back over the design on the wrong side just so the image moves to the rubber.  Remove the tracing paper and sketch back in any lines that may be fuzzy or unclear, use pen or pencil, you need a clear guide to carving.  Above you can see my reverse image carved out of the rubber.


Here's a couple more designs I did.  They are like giant rubber stamps except the design is original: mine! AND they are not perfect as yes, I slip and slide while carving and often have to make adjustments. There is no way, I have found, to correct  (fill in or cover) an unwanted gouge. We call these little irregularities: charming.


Now I test the image...a lot!  Sometimes it needs deeper carving or more work to fill the page or it just doesn't print correctly.  It also helps to season the rubber and make sure there are no floating objects (dust, hair, fingerprints) adhering to the ink.  I prefer to use ink pads over paint for small prints.


Now I'm into "production." This is a card to go with honey bee soaps at a fundraiser.  See what I mean about "charming" irregularities?


Here is another design printed, embellished and packaged as a card.  Sometimes I hand write the words, other times I build words out of pre-made letter stamps.  


So it should be relatively easy (and cheap) to turn out dozens of cards, no? NO.  I am finding that the process of printing requires a lot of concentration and precision...people don't like smeared cards or crooked images.  They won't purchase upside down writing or envelopes accidentally printed sideways.  And tying all those darling little ribbons?  Not so fun.  Slippage (or "seconds") is a huge time and money-eater.  But I preserve.  If it doesn't kill me maybe I will get better at this!

Thanks for coming on this side trip with me....all in the name of creativity!

Covered in Ink,
Cindy
p.s.  It just occurred to me that if I could cut a piece of wood the same size as the rubber block and glue them together I would have the ease of a stiffer printing piece?  another day.....


Friday, July 15, 2016

Blessings on the Wind


I love the creative energy of a "workshop" so when friends
encouraged me to offer one on making Prayer Flags I
jumped right in.

We began by discussing the use of prayer flags and the traditional meanings behind the earliest ones.  (A beginners intro here) I made worksheets guiding us to think about the way we might take these traditional symbols and colors and "modernize" them for personal meaning.  It is important to know that the flags are meant to be infused (if that can be said) with intentions and blessings which then are spread over the land as they blow in the wind.  This project is as much about thoughts and prayers as it is arts and crafts.


We began by making print blocks from foam and stamping them on to the fabric.


Everyone designed a block but we shared or used parts of each others when the symbols worked.
These are just a few flags laid out to dry.


 Flags were also stamped, lettered, stenciled, painted on
and designed with any tool or color that added to the
intention it was designed for.  I loved how everyone
added their own touches and shared their thoughts.

As the flags dried we cut our ribbons and talked about where our flags were going to hang.  Everyone, surprisingly, were making their flags for a specific place and/or a particular person.  Carefully the gals pinned the fabric to the ribbons and the sewing began.


Pretty soon we were admiring the results and getting anxious to put our blessings in the wind.


I don't have any workshops currently scheduled but if you have a group that is interested just contact me and we can set something up.  Five is the max to fit into my studio but larger venues will work if you see this as applicable to something you want to do.  After all, spreading more blessings across this country of ours would be a good thing, no?

Intentionally ColorFull,
Cindy